
Learning how to clean a coffee grinder is essential if you want fresh-tasting coffee and a grinder that lasts for years. Coffee beans naturally release oils during grinding. Over time, these oils, fine coffee particles, and leftover grounds can build up inside the grinder.
A dirty coffee grinder may produce stale or bitter flavors. It can also affect grind consistency, create unpleasant smells, and cause the machine to work less efficiently. The good news is that cleaning a coffee grinder does not have to be difficult. With a few simple tools and regular maintenance, you can keep your grinder in excellent condition.
This guide explains how to clean both burr and blade coffee grinders safely. It also includes deep-cleaning instructions, maintenance tips, and common mistakes to avoid.
Why You Should Clean Your Coffee Grinder
Every time you grind coffee beans, small particles remain inside the grinder. Some grounds stay around the burrs or blades, while others collect in the hopper, chute, and container.
The natural oils in coffee can become sticky and rancid over time. When fresh beans come into contact with old residue, the flavor of your coffee may change. Instead of tasting fresh and balanced, your coffee may taste bitter, stale, or oily.
Regular coffee grinder cleaning can help you:
- Improve the flavor of your coffee
- Maintain a consistent grind size
- Reduce old coffee residue
- Prevent unpleasant odors
- Extend the life of the grinder
- Keep the machine working efficiently
If you use your grinder every day, light cleaning once a week and a deeper cleaning once a month is usually a good routine.
What You Need Before Cleaning
Before learning how to clean a coffee grinder, gather the following items:
- A soft cleaning brush
- A dry microfiber cloth
- A wooden or plastic toothpick
- A small vacuum cleaner or air blower
- Mild dish soap
- Warm water
- A clean towel
- Grinder cleaning tablets, if recommended by the manufacturer

Avoid using sharp metal objects inside the grinder. They may damage the burrs, blades, or internal components.
Safety First
Always unplug an electric coffee grinder before cleaning it. This is especially important when working around the blades or burrs.
Never pour water directly into the motor housing. Electrical components must remain completely dry. If your grinder has removable parts, check the user manual to see which pieces are dishwasher-safe and which must be washed by hand.
Do not turn the grinder on while your fingers, brush, or cloth are near the grinding mechanism.
How to Clean a Blade Coffee Grinder
Blade grinders use a spinning metal blade to chop coffee beans. They are usually compact and affordable, but coffee particles can quickly collect around the blade and inside the bowl.
Step 1: Unplug the Grinder
Disconnect the grinder from the power outlet and move it to a clean, dry workspace.
Step 2: Empty the Grinding Chamber
Turn the grinder upside down over a trash can or sink to remove loose coffee grounds. Gently tap the sides, but do not shake the machine aggressively.
Step 3: Brush Away Remaining Grounds
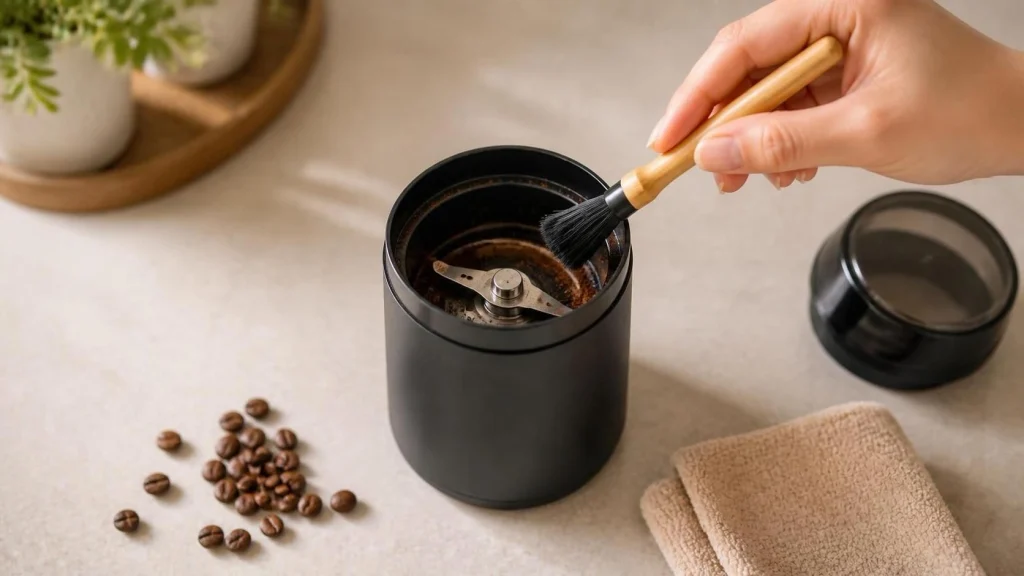
Use a soft brush to remove coffee particles from around the blade and the inside walls of the grinding chamber. A small pastry brush or grinder brush can work well.
Be careful around the sharp blade. Do not place your fingers directly inside the chamber.
Step 4: Wipe the Interior
Use a dry microfiber cloth to wipe the inside of the grinding bowl. If there is oily buildup, lightly dampen the cloth with water and mild soap, but make sure the cloth is not wet enough to drip.
Never pour water directly into the grinding chamber.
Step 5: Clean the Lid
Coffee dust often sticks to the lid. Wash the lid with warm water and mild dish soap if it is washable. Dry it completely before putting it back on the grinder.
Step 6: Let Everything Dry
Allow all cleaned parts to dry completely. Moisture left inside the grinder can damage the motor or affect the coffee beans during the next use.
How to Clean a Burr Coffee Grinder
Burr grinders use two abrasive surfaces to crush coffee beans. They offer more consistent grinding than blade grinders, but they require careful cleaning because coffee grounds can collect between the burrs.
Step 1: Unplug the Grinder
Turn the grinder off, unplug it, and remove any remaining beans from the hopper.
Step 2: Remove the Hopper
Take off the bean hopper according to the manufacturer’s instructions. Some hoppers twist and lock into place, while others can be lifted directly from the grinder.
If the hopper contains oily residue, wash it with warm water and mild dish soap. Dry it thoroughly before reassembly.
Step 3: Remove the Upper Burr
Many burr grinders allow the upper burr to be removed by twisting it counterclockwise. Do not force it. If you are unsure how to remove it, check the instruction manual.
Place the burr on a clean towel so it does not get lost or damaged.
Step 4: Brush the Burrs
Use a grinder brush to remove loose coffee particles from the upper burr, lower burr, and surrounding areas. Brush gently instead of applying excessive pressure.
Pay special attention to the small spaces where fine grounds collect.
Step 5: Clean the Coffee Chute
The coffee chute can become blocked with compacted coffee grounds. Use a dry brush or wooden toothpick to loosen the buildup.
A small vacuum can help remove the loosened particles. Avoid pushing grounds deeper into the machine.
Step 6: Wipe the Grinder Body
Use a dry or slightly damp microfiber cloth to clean the outside of the grinder. Keep moisture away from buttons, electrical openings, and the motor section.
Step 7: Reassemble the Grinder
Once all removable parts are fully dry, reinstall the burr and hopper. Make sure everything is fitted correctly before using the grinder.
How to Deep Clean a Coffee Grinder
A regular brush removes loose grounds, but a deep cleaning is necessary when the grinder has strong odors, oily residue, or inconsistent performance.
One option is to use commercial grinder cleaning tablets. These tablets are designed to absorb coffee oils and remove fine particles from the burrs. Always select a product suitable for your grinder and follow the package instructions.
Another method is to carefully disassemble the removable parts and clean them with a dry brush. Avoid using uncooked rice unless the manufacturer specifically recommends it. Rice can be hard enough to damage some grinders or place stress on the motor.
After using cleaning tablets, grind a small amount of inexpensive coffee beans to remove any remaining tablet dust. Discard those grounds before preparing your next drink.
How Often Should You Clean a Coffee Grinder?
The ideal cleaning schedule depends on how often you use the grinder and what type of coffee beans you grind.
For daily use, brush the grinder several times per week and perform a more thorough cleaning every two to four weeks. If you use dark-roasted or oily beans, clean the grinder more frequently because they leave more residue.
A grinder used only occasionally may need a light cleaning once a month. However, always clean it before storing it for a long period.
You should also clean the grinder whenever you change from flavored coffee to regular coffee. Flavored beans can leave strong oils and aromas that affect the taste of other beans.
Common Coffee Grinder Cleaning Mistakes
One of the most common mistakes is using too much water. Water can damage electrical components and may cause coffee grounds to stick together inside the machine.
Another mistake is cleaning the burrs with harsh chemicals. Strong cleaners may leave harmful residue or affect the flavor of your coffee.
Do not use a metal knife or screwdriver to remove stuck grounds. These tools can scratch the burrs or damage the grinding chamber.
It is also important not to reassemble the grinder while the parts are still damp. Even a small amount of moisture can create problems during grinding.
Tips to Keep Your Grinder Cleaner for Longer
Use high-quality, dry coffee beans and avoid grinding beans that are visibly oily unless your grinder is designed for them. Empty the hopper regularly instead of leaving beans inside for weeks.
After each use, gently tap or brush the grinder to remove loose grounds. Keep the grinder covered or stored in a dry place to prevent dust from entering the mechanism.
If your grinder has a dosing cup, clean it regularly as well. Old grounds can remain inside the cup and mix with freshly ground coffee.
Final Thoughts
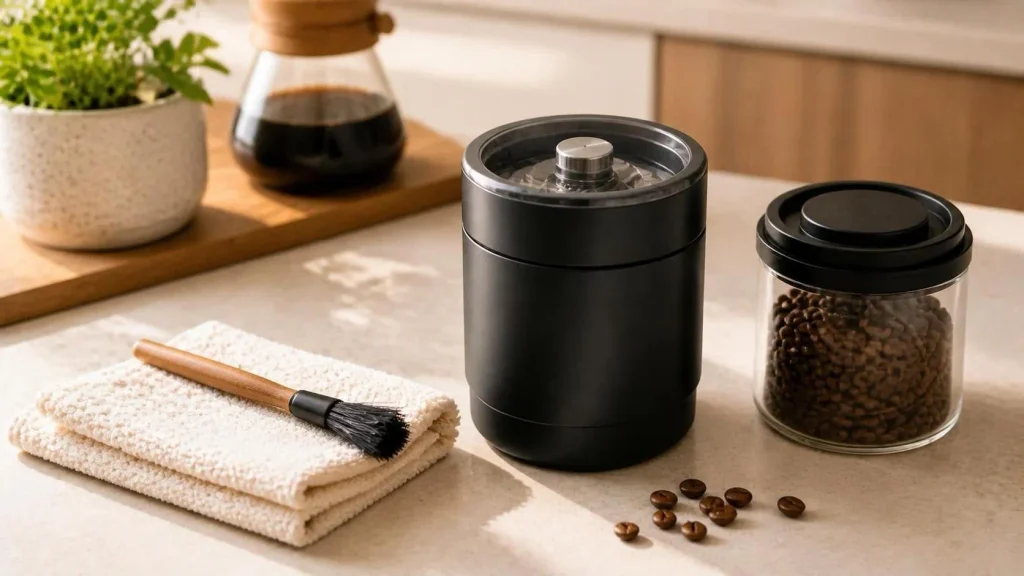
Knowing how to clean a coffee grinder can improve your coffee’s flavor and protect your investment. Whether you use a blade grinder or a burr grinder, regular cleaning removes old grounds, coffee oils, and dust that can affect performance.
Always unplug the grinder before cleaning, use a soft brush, avoid excess water, and allow every removable part to dry completely. With light cleaning throughout the week and a deeper cleaning every few weeks, your grinder can continue producing fresh and consistent coffee for a long time.
Affiliate Disclosure: This article may contain affiliate links. If you purchase a product through one of these links, we may earn a small commission at no additional cost to you. This helps support our website and allows us to publish more helpful coffee guides.