Making coffee at home does not have to be complicated. A single serve coffee maker can make the process much easier, especially when you only want one fresh cup instead of preparing an entire pot.
Whether you are using a single serve coffee maker for the first time or simply want to improve your coffee-making routine, understanding the basic process can make a big difference. From adding water and preparing your coffee to choosing between coffee pods and ground coffee, there are several simple steps that can help you get a better result.
In this guide, we will explain how to use a single serve coffee maker step by step, how to use K-Cup-style coffee pods, how to use ground coffee, how to clean the machine, and how to avoid some of the most common mistakes.
The process is generally simple, but a few small details can make your coffee taste much better.

What Is a Single Serve Coffee Maker?
A single serve coffee maker is a coffee machine designed to prepare coffee one serving at a time.
Traditional coffee makers usually prepare several cups in one brewing cycle. A single serve machine, on the other hand, focuses on convenience and individual servings.
This makes it useful for people who drink coffee at different times of the day or simply prefer to prepare a fresh cup whenever they want one.
Many modern single serve coffee makers can work with coffee pods, while some models also support ground coffee. This gives you flexibility depending on what type of coffee you have available.
The basic process is usually:
- Add water.
- Prepare the coffee pod or ground coffee.
- Place your cup under the coffee outlet.
- Start the brewing process.
- Wait for the coffee to finish brewing.
- Remove the used coffee and clean the machine if necessary.
Although the process sounds simple, knowing how each step works can help you make a better cup.
What You Need Before Making Coffee
Before you start, prepare everything you need.
You will generally need:
- A single serve coffee maker
- Fresh drinking water
- A coffee cup or mug
- K-Cup-style coffee pod or ground coffee
- A suitable coffee filter if your machine requires one
- A spoon if you are using ground coffee
It is also a good idea to make sure the machine is placed on a stable, flat surface.
Avoid placing the coffee maker somewhere where water could easily spill onto electrical components.
If you are using the machine for the first time, check the manufacturer’s instructions before brewing. Different models can have slightly different water reservoirs, pod holders, controls, and cleaning procedures.
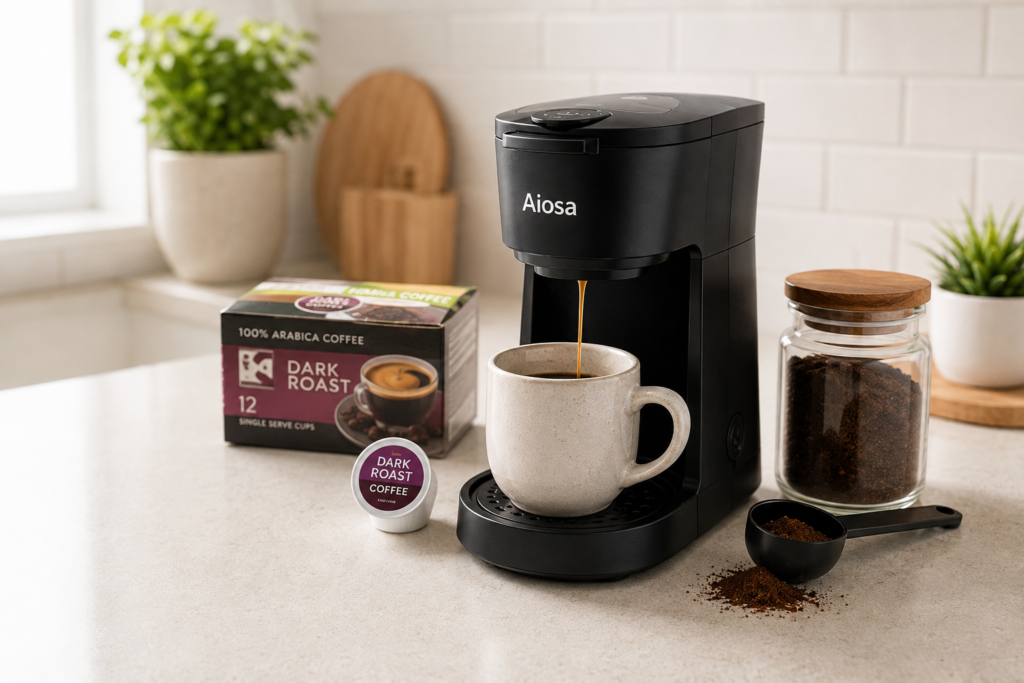
Step 1: Fill the Water Reservoir
The first step is adding water to the coffee maker.
Open the water reservoir and fill it with clean drinking water. Try to use fresh water every time you make coffee rather than leaving old water sitting inside the machine for a long period.
Do not overfill the reservoir. Always follow the maximum fill line marked on the machine.
The amount of water you use can affect the strength and amount of coffee you receive. If you prefer a stronger cup, you may want to experiment with the recommended water level for your particular machine.
Filtered water can also be useful if your tap water has a strong taste or contains a significant amount of minerals.
Water is an important part of coffee because it makes up most of the final drink. Better-tasting water can therefore contribute to a better-tasting cup.
Step 2: Turn On the Coffee Maker
Once the water reservoir is filled, turn on the coffee maker.
Depending on the model, you may have a power button or another control used to activate the machine.
Give the machine a moment to prepare itself. Some coffee makers need a short amount of time to heat the water before brewing begins.
Avoid opening or moving the machine while it is heating or brewing.
If your coffee maker has indicator lights or a display, wait until it shows that the machine is ready.
Step 3: Choose Your Coffee
Now it is time to choose what type of coffee you want to prepare.
This is where single serve coffee makers can be particularly convenient because you can change your coffee from one cup to another.
For example, you might use a dark roast in the morning and a lighter roast later in the day.
If your machine supports both coffee pods and ground coffee, you can choose whichever method you prefer.
Step 4: How to Use a K-Cup Coffee Pod
If you are using a K-Cup-style coffee pod, first open the pod compartment according to the machine’s design.
Place the coffee pod into the holder.
Make sure it is positioned correctly and that the lid or holder is securely closed.
Do not force the pod into the machine. If it does not fit correctly, check that you are using a compatible pod and that the holder is positioned properly.
Once the pod is securely in place, close the compartment.
Select the appropriate brewing option if your coffee maker provides different settings.
Then start the brewing process.
The machine will heat the water and pass it through the coffee pod before the brewed coffee flows into your cup.
Always keep your hands away from the coffee outlet during brewing because the liquid and surrounding components may become hot.
Step 5: How to Use Ground Coffee
If you prefer ground coffee, the process is slightly different.
First, check whether your particular machine includes a reusable filter or ground-coffee basket.
Add the recommended amount of ground coffee to the filter or basket.
Avoid adding too much coffee. Overfilling can prevent proper water flow and may cause mess or poor extraction.
The grind size can also influence the final taste.
Coffee that is extremely fine may slow the flow of water, while coffee that is too coarse may produce a weaker cup.
For the best results, follow the instructions provided with your specific coffee maker and experiment gradually until you find the taste you prefer.
Once the ground coffee is placed correctly, close the compartment and start brewing.
Step 6: Place Your Cup Correctly
Before starting the brew cycle, place your cup directly underneath the coffee outlet.
Make sure the cup is large enough to hold the amount of coffee you are preparing.
This sounds obvious, but it is one of the easiest things to overlook.
If your cup is too small, coffee can overflow and create a mess around the machine.
A stable mug with enough capacity is usually the safest option.
Step 7: Start the Brewing Process
Once everything is ready, start the brewing process.
The coffee maker will heat the water and push it through the coffee grounds or pod.
Depending on the machine and the brewing method, the process may take a short amount of time.
For example, the Aiosa single serve coffee maker mentioned earlier is advertised as being capable of brewing in approximately 120 seconds.
However, actual brewing time can vary depending on the machine, water temperature, coffee type, and other factors.
While the coffee is brewing, avoid removing the cup or opening the coffee compartment.
Wait until the brewing cycle has completely finished.
Step 8: Enjoy Your Fresh Coffee
Once the brewing cycle is complete, carefully remove your cup.
Your coffee is now ready to enjoy.
You can drink it black or add ingredients according to your preference.
Common additions include:
- Milk
- Cream
- Sugar
- Honey
- Cinnamon
- Flavored syrup
You can also use the freshly brewed coffee as a base for other drinks.
For example, you can add milk and ice to create a simple iced coffee.
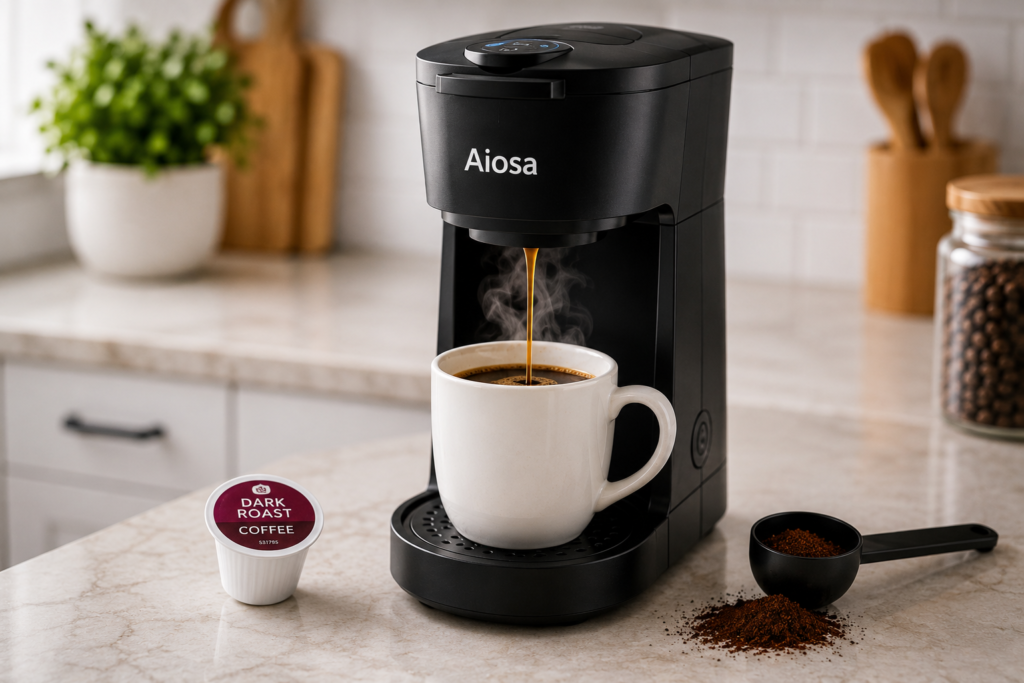
How to Make Stronger Coffee
If your coffee tastes too weak, there are several things you can try.
First, consider using a stronger coffee roast.
If you are using ground coffee, slightly adjusting the amount may also change the strength.
You can also experiment with the amount of water.
Using more water generally produces a larger and potentially lighter cup, while less water can result in a stronger-tasting drink.
However, avoid making dramatic changes all at once.
Try changing one factor at a time so you can understand what actually improves the taste.
Remember that stronger does not always mean better. The goal is to find a balance that matches your personal preference.
How to Make Better-Tasting Coffee
The coffee machine itself is only one part of the equation.
The quality and freshness of your coffee can make a noticeable difference.
If you use ground coffee, keep it stored in an airtight container away from excessive heat, moisture, and direct sunlight.
Freshly ground coffee can also provide a more noticeable aroma than coffee that has been stored for a long time.
Water quality matters as well.
If your water has an unusual smell or taste, it can affect the final cup.
Another important factor is cleanliness.
Coffee residue can build up inside the machine over time, potentially affecting both flavor and performance.
How to Clean a Single Serve Coffee Maker
Cleaning your coffee maker regularly is one of the easiest ways to keep it working properly.
After using a coffee pod, remove the used pod and dispose of it appropriately.
If you use ground coffee, remove the used grounds from the filter or basket.
Wash removable components according to the manufacturer’s instructions.
You should also wipe the exterior of the machine with a clean, slightly damp cloth when necessary.
Do not immerse electrical components in water.
Why Descaling Is Important
Mineral deposits can build up inside a coffee maker over time, especially when using hard water.
This buildup is commonly known as scale.
Too much mineral buildup can affect water flow and potentially influence brewing performance.
Many coffee makers therefore require periodic descaling.
The exact descaling method depends on the machine. Some manufacturers provide a specific descaling solution or cleaning procedure.
Always follow the manufacturer’s recommended method instead of assuming that every coffee maker should be cleaned in exactly the same way.
Regular maintenance can help keep the brewing system cleaner and operating consistently.
Common Mistakes to Avoid
Even though using a single serve coffee maker is simple, people can still make a few common mistakes.
Overfilling the Water Reservoir
Always respect the maximum water level.
Too much water can cause spills or other problems.
Using Too Much Coffee
More coffee does not automatically mean better coffee.
Too much ground coffee can interfere with water flow and extraction.
Using Incompatible Pods
Not every coffee pod is compatible with every machine.
Check compatibility before purchasing or using pods.
Leaving Used Coffee Inside
Used coffee grounds and pods should be removed after brewing.
Leaving them inside for extended periods can create unpleasant odors and make cleaning more difficult.
Ignoring Cleaning
A coffee maker that is never cleaned can accumulate coffee residue and mineral deposits.
Regular maintenance is therefore an important part of owning any coffee machine.
How to Make Iced Coffee With a Single Serve Coffee Maker
A single serve coffee maker can also be used to prepare a simple iced coffee.
Start by brewing a relatively strong cup of coffee.
Instead of drinking it immediately, allow it to cool for a short period.
Fill a glass with ice.
Pour the coffee over the ice.
Then add milk, cream, sugar, or syrup according to your taste.
For a stronger flavor, you can also prepare coffee ice cubes in advance. When those cubes melt, they add coffee rather than plain water to your drink.
This is an easy way to turn your regular morning coffee routine into a refreshing cold drink.
How to Choose the Right Coffee for Your Taste
There is no single coffee that everyone will enjoy.
Different roast levels can create very different flavors.
Light Roast
Light-roasted coffee often has brighter and more noticeable flavor characteristics.
Medium Roast
Medium roast is popular because it can provide a balanced combination of aroma, body, and flavor.
Dark Roast
Dark roast generally has a deeper, stronger flavor and can be preferred by people who enjoy a bold cup of coffee.
You can experiment with different roasts until you find the one that matches your taste.
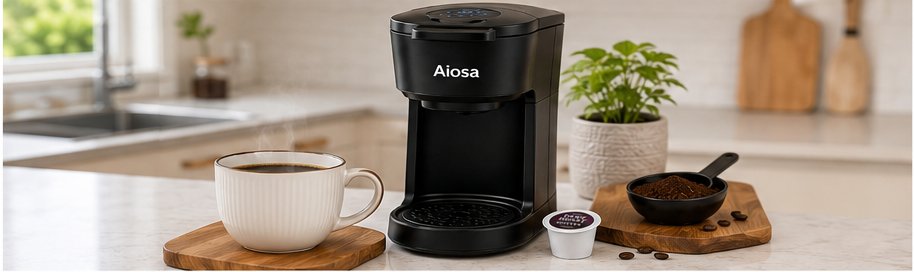
How to Use a Single Serve Coffee Maker Every Morning
Once you understand the basic process, using the machine can become part of your daily routine.
A simple morning routine could look like this:
1. Fill the reservoir with fresh water.
2. Turn on the machine.
3. Choose your preferred coffee pod or ground coffee.
4. Place the coffee into the appropriate holder.
5. Put your mug underneath the outlet.
6. Start brewing.
7. Wait until the brewing cycle finishes.
8. Remove your coffee.
9. Remove the used pod or coffee grounds.
10. Give the machine a quick clean when necessary.
The whole process can be simple enough to complete while you are getting ready for work, school, or your day.
Final Thoughts
Learning how to use a single serve coffee maker is relatively straightforward once you understand the basic steps.
The key is to start with fresh water, use compatible coffee pods or the correct amount of ground coffee, position your cup properly, and allow the machine to complete its brewing cycle.
The quality of your coffee can also improve when you pay attention to the details. Fresh coffee, good-quality water, the right amount of coffee, and regular cleaning can all contribute to a better result.
A single serve coffee maker is designed around convenience, but convenience does not mean you have to sacrifice the quality of your coffee. With a little experimentation, you can find the coffee strength, roast, and preparation method that works best for you.
Whether you prefer a quick morning cup, an afternoon coffee break, or a refreshing iced coffee, understanding how your machine works gives you more control over the final drink.
The most important thing is to follow the instructions for your specific coffee maker, keep the machine clean, and experiment with different coffee options until you find your favorite combination.
With the right routine, making a fresh cup of coffee at home can become one of the simplest and most enjoyable parts of your day.
Frequently Asked Questions
How long does a single serve coffee maker take to brew coffee?
Brewing time depends on the specific machine and brewing method. Some models can prepare a cup in only a few minutes.
Can I use ground coffee in a single serve coffee maker?
Some single serve coffee makers support ground coffee through a reusable filter or coffee basket. Check your machine’s instructions before using ground coffee.
Can I use K-Cup pods?
If your coffee maker is designed to support K-Cup-style pods, you can use compatible pods according to the manufacturer’s instructions.
How often should I clean my coffee maker?
Basic cleaning should be done regularly, especially after using ground coffee. Deeper cleaning and descaling should follow the manufacturer’s recommended schedule.
Why does my coffee taste weak?
Weak coffee can result from too much water, too little coffee, or the type of coffee being used. Try adjusting one factor at a time to find your preferred strength.
Can I make iced coffee with a single serve coffee maker?
Yes. You can brew coffee, allow it to cool slightly, and pour it over ice. Milk, cream, sugar, or syrup can be added according to your preference.